I’m trying to shoot my own professional headshots for LinkedIn and my portfolio using just a smartphone, a basic camera, and natural light. My first attempts look flat, unflattering, and not at all like real studio headshots. I’m not sure what I’m doing wrong with lighting, angles, background, or editing. Can someone walk me through how to take professional headshots step by step, including simple posing, camera settings, and easy post-processing tips I can use without expensive gear?
Getting a decent headshot for LinkedIn or a portfolio felt like a chore to me for a long time. Turns out it is not that deep if you stick to a few basics and stop overthinking it.
Here is what worked when I redid mine.
Real-world stuff, not theory
- Light
I stopped fighting with indoor lamps and ceiling lights. I stood a few feet from a window on a cloudy day, facing the light. No sun on my face, no stripes from blinds.
What helped:
- Window light or open shade outside.
- Light hitting your face from the front or slightly from the side.
- Avoid sitting under strong downlights. They dig shadows under your eyes and nose.
I tried balcony noon light once, got those dark raccoon eyes. Deleted all of them.
- Background
I used to cram bookshelves, plants, and whatever behind me, then realized nobody cares about my decor.
Safer options:
- Plain wall.
- Office wall with subtle texture.
- Simple outdoor background with some blur, like a wall a few feet behind you.
Skip busy kitchens, messy rooms, and any background that has text or logos. They drag the eye away from your face.
- Clothes
I got the best results after dressing like I was going to a normal client meeting.
What worked better:
- Solid colors.
- No tiny stripes or crazy patterns that create moiré on camera.
- Darker top with a lighter background or the other way around so you do not blend in.
If you work in tech, a clean t-shirt or polo looked fine for me. If you work in law or finance, a jacket and shirt will help more.
- Framing and angle
I stick to head and shoulders. Anything wider starts looking like a vacation photo.
Tips from messing it up a few times:
- Camera lens roughly at eye level.
- A bit of space above your head, not chopped off.
- Eyes about one third from the top of the frame.
- Do not tilt the camera too much. It gets weird fast.
I used my phone on a stack of books with the timer set to 3 seconds. That solved the “arm sticking out from a selfie” problem.
- Expression
This took me the longest. I kept defaulting to either passport-photo-serious or fake salesman grin.
What helped:
- Exhale once right before the shot.
- Slight smile, like you saw a friend across a room.
- Look slightly through the camera, not like you are staring it down.
I took about 30 shots, then picked 2. The first 10 looked stiff. The last 5 looked tired. The decent ones were in the middle.
About AI headshots
Here is what it generated for me:
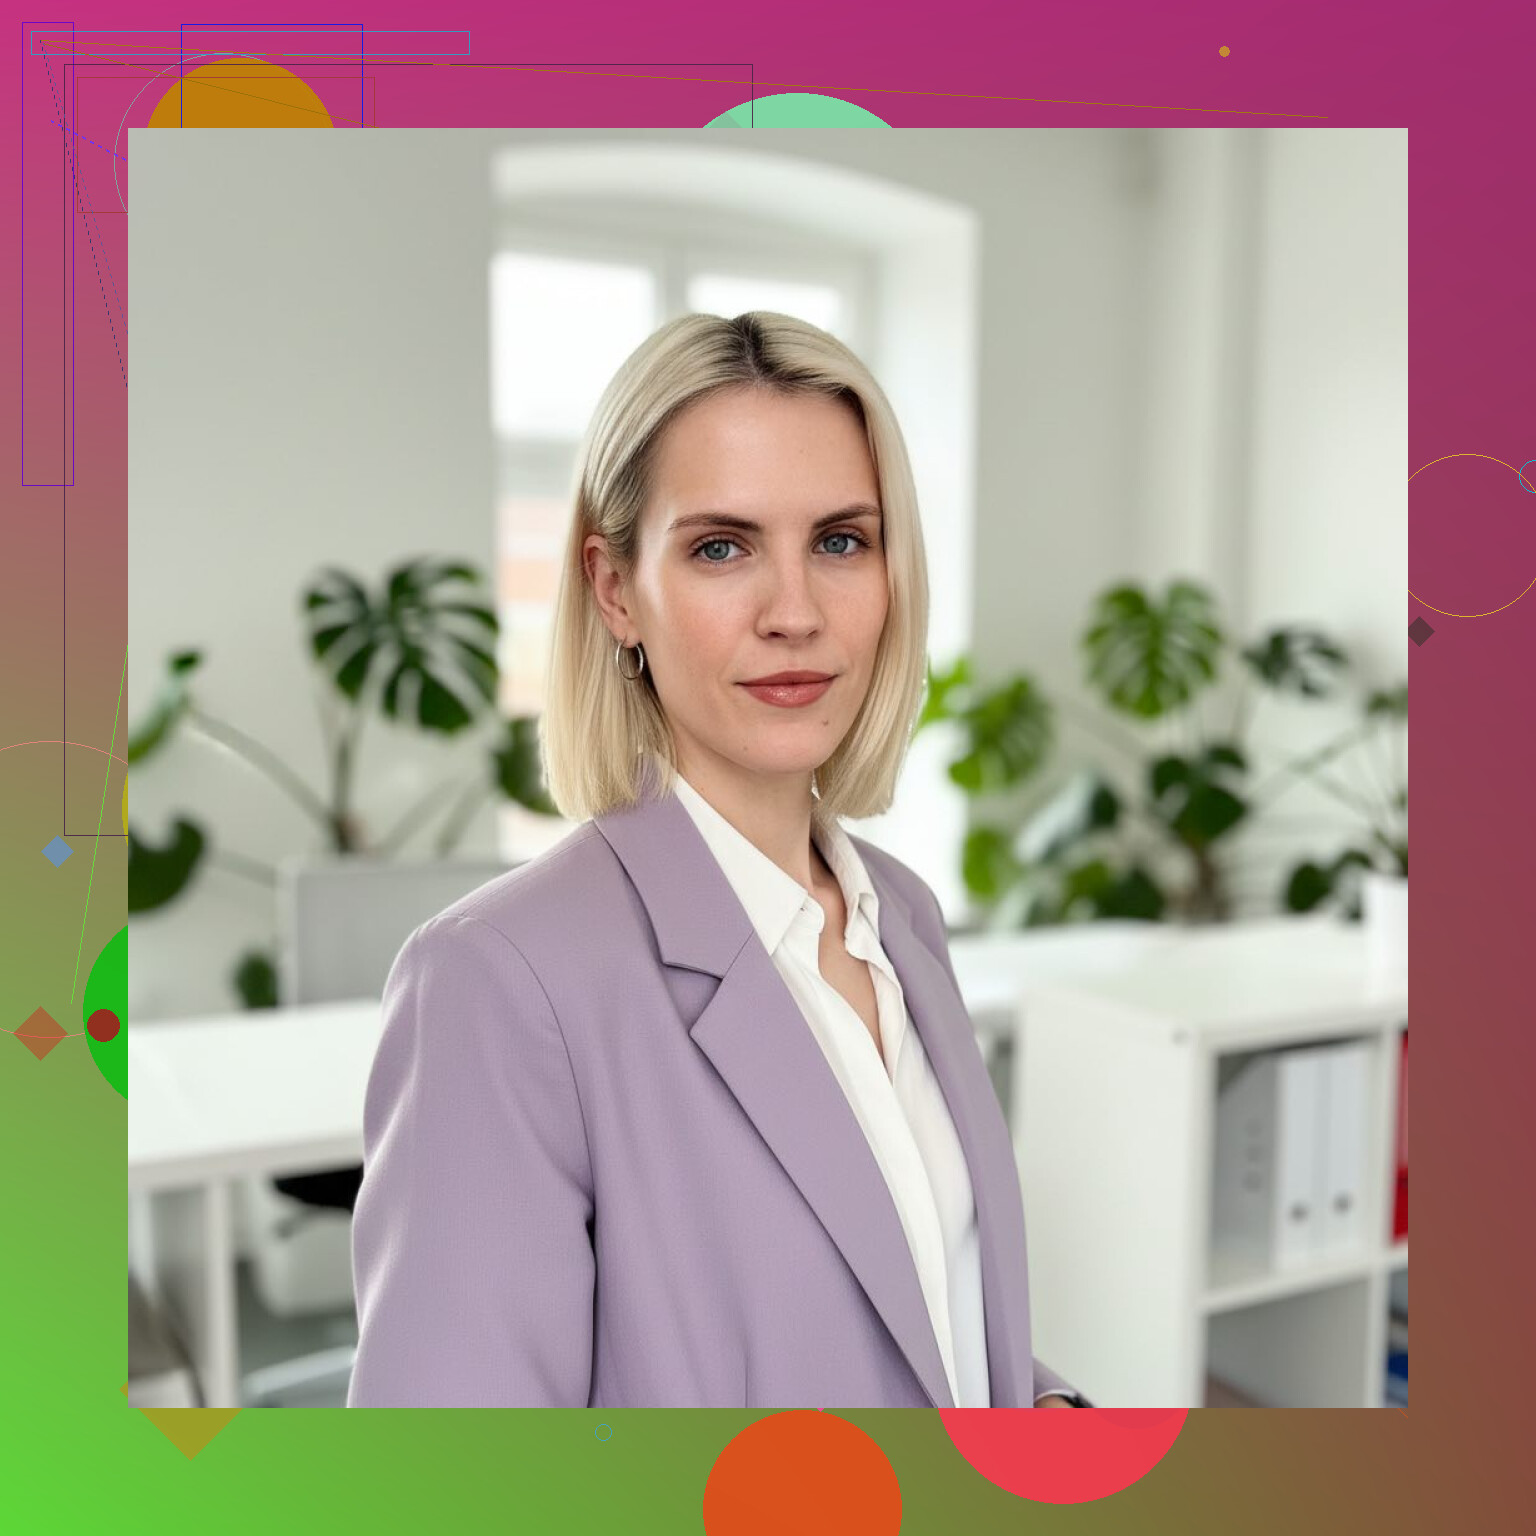

At some point I got tired of setting things up every time I needed a slightly different look for a conference, website, or profile. I tried AI headshots as a shortcut.
I used this on iPhone:
My process:
- Uploaded a few selfies with different angles and clothes.
- Picked a “Professional / LinkedIn” style.
- Let it spit out multiple versions.
Some of them looked off to me, but a few sets were good enough that I put them on my site and profiles.
Read more here:
Eltima AI Headshot Generator
Observations from using AI for this:
- Recruiters I spoke with never asked if the photo was AI or not.
- What they cared about was clear face, normal expression, and no distracting background.
- The time saved was the main win for me. No tripod, no convincing someone to take 50 photos.
What to focus on
If you want to keep it simple and not sink a whole afternoon into it, this is the checklist I ended up using:
- Good, soft light from a window or shade.
- Clean, non-distracting background.
- Clothes that fit your field and are not loud.
- Head and shoulders framing, eye-level camera.
- Relaxed, slight smile, not a forced pose.
If you do not feel like doing a mini photo shoot, tools like Eltima AI Headshot Generator on iPhone or Mac are a decent shortcut. Upload a few solid selfies, let it generate options, then pick the ones where you still look like yourself.
20 Likes
Your shots look flat because the phone is doing “average everything” and your scene has no depth. You fix this more with position and distance than with gear.
Some extra angles on top of what @mikeappsreviewer said.
- Light with shape, not only softness
Soft window light is good, but if you stand flat facing it, your face looks 2D.
Try this:
• Stand about 45° to the window, turn your face slightly toward it.
• Keep your nose pointing close to the light, but not straight-on.
• Step a bit away from the wall so shadows fall behind you, not right under your chin.
• If one side of your face looks too dark, hold a white pillowcase or foam board on the shadow side to bounce some light.
- Distance and lens choice on the phone
Most phones have a wide main lens that warps faces at close range. That “big nose, small ears” look screams non‑pro.
Do this:
• Use the 2x or “telephoto” lens if your phone has it.
• If not, step back and crop later.
• Keep the phone at least 3 to 5 feet away from you. More if you have room.
You trade some resolution, but the perspective looks more like a real portrait lens.
- Depth from the background
Flat look often comes from you standing right on the wall.
Try:
• Stand 3 to 6 feet in front of the background.
• Use portrait mode, but dial down the blur so it looks natural. On iPhone, something like f/4 to f/5.6 tends to look less fake than f/1.4.
• If portrait mode creates weird hair cutouts, step a bit farther from the wall and give it a cleaner edge to detect.
- Angle for your face shape
Small tweaks help more than filters.
Examples:
• If you have a round face, turn your head a tiny bit to one side, then bring your eyes back to the camera.
• If you worry about double chin, push your face slightly toward the camera and lower your forehead a bit. It feels odd, looks good.
• Avoid shooting from below eye level. Slightly above eye level is safer.
Take a test shot, zoom in on your face, adjust, repeat.
- Expression workflow that does not feel fake
I disagree a bit with the “take 30 shots” thing. Most people look tired after too many.
Try short bursts:
• Set a 3 or 10 second timer.
• Think of a specific situation where you felt confident, like finishing a hard project.
• As the timer ends, exhale, then give a small smile.
• Do sets of 5 shots, then take a break and review.
You want your eyes doing the work more than your mouth.
- Phone camera settings
A few quick tweaks:
• Turn off “beauty” or skin smoothing. It often makes skin look plastic.
• Lock exposure and focus on your eye. On most phones, tap and hold your eye area. Then slide exposure a bit down to avoid blown highlights on your forehead or nose.
• Shoot in the highest resolution. Crop later, not while shooting.
- Simple “home studio” setup that works fast
Example setup that I have used:
• North facing window or any window with indirect light.
• You stand 4 feet from the window, turned 45°.
• Background is a plain wall 4 feet behind you.
• Phone at eye level on a shelf or stack of boxes, about 5 feet in front of you, using 2x lens or stepping back.
• Timer set.
• Take 3 sets of 5 shots, change micro things each set. One with a slightly bigger smile, one a bit more neutral, one with your head turned more.
That gets you one or two solid options without turning it into a full photo day.
- Simple editing
Do light edits only, so it still looks like you.
In any basic app:
• Slight contrast up.
• Slight brightness down if your forehead is hot.
• Very small clarity or structure, or skip if it gets harsh.
• Fix white balance so skin does not look too orange or blue.
Stop before it looks like a filter.
If your stuff still feels off after all this, post one unedited shot (cropped if you prefer) and describe your setup. Easier to tweak once people see what your light and angles are doing.
Your shots look “flat” mostly because of three things: direction of light, separation from background, and how the phone processes the image. @mikeappsreviewer and @sognonotturno already nailed most of the basics, so here are some different angles to try.
- Use corners instead of flat walls
Everyone tells you “plain wall,” which is fine, but a dead-flat wall behind you often looks… dead.
Try this:
- Stand where two walls meet, so the corner is behind you.
- Aim the camera so one wall is more visible than the other.
That tiny perspective shift gives a studio-ish feel without needing crazy gear.
- Turn the room light on strategically
People love to say “only window light,” but you can actually mix a bit of room light if you are careful.
- Face the window as your main light.
- Turn on a lamp that is behind you and to the side, so it hits your hair/shoulders, not your face.
It acts like a cheap hair light and separates you from the background. If you see yellow on your face, it is too strong or too close.
- Lock in a more “portrait-like” color and contrast
Phones often do that flat, grayish “average” look.
Instead of relying on auto:
- On iPhone: try a “Rich Contrast” or similar Photo Style but dial it down a bit.
- On Android: if there is a “Portrait” or “Natural” profile, pick that instead of “Vivid” (which makes skin weird).
You are basically telling the phone “stop making my face a test chart.”
- Sit instead of stand
Minor disagreement with all the standing setups: sitting can make expressions more relaxed.
- Sit on a chair, scoot to the edge, lean slightly forward from the hips.
- Keep your spine long but not rigid.
That lean-in posture screams “engaged and confident” compared to standing like you are waiting at the DMV.
- Use objects to fix posture and hands
When people don’t know what to do with their body, everything looks stiff.
Try:
- Lightly resting one forearm on the back of a chair or table that is out of frame.
- If you are shooting a bit wider, gently pinch a cuff, watch, or necklace.
Tiny anchors = less awkward, more natural.
- Control reflections and shine
Studio headshots often look “clean” because they control skin shine. You can fake part of that at home.
- Blot your forehead, nose, and cheeks with a tissue before shooting.
- If you have glasses, tilt the frames slightly down at the temples or raise the camera a bit until window reflections move off your pupils.
You do not need powder and a glam squad; just avoid mirror-forehead.
- Shoot short video, then pull stills
This is where I slightly disagree with both previous posts about shot count. Some people freeze up when a shutter keeps clicking.
Try:
- Put the phone on a tripod / stack of books.
- Record 4K video with good light.
- Slowly move through a few micro-expressions while you talk about something out loud.
Later, scrub through and export still frames where you like your expression. It feels less “posing” and more natural.
- Background color psychology
If you can choose background color, not just “plain wall,” aim for:
- Light gray or light beige for general LinkedIn / corporate.
- Soft darker gray or navy for a more dramatic, senior-level vibe.
Avoid pure white at home unless your light is very even. Otherwise you get harsh contrast and blown highlights.
- Know when to ignore portrait mode
Portrait mode is not always your friend. If your hair is curly, messy, or you have flyaways, the fake blur can look very “AI fail.”
Use it only if:
- Your hair is pretty clean-edged.
- The background is at least a few feet behind you.
If it keeps messing up, shoot in normal mode and just add a subtle background blur later in an editor.
- Quick “checklist in 2 minutes”
Before you start:
- Face lit brighter than background, light from window slightly to one side.
- You are at least 3 feet from the wall, maybe near a corner.
- Phone at eye level or slightly above, not below.
- Sit or stand with a tiny lean toward the camera.
- Do a 30-second video or 10 stills, then stop instead of grinding for an hour.
If you get one clean, well lit shot with a calm expression, that will already beat 90% of random LinkedIn pics, even without a studio.
Skip the theory for a second and focus on what actually makes a home headshot look “pro” instead of “phone snapshot”: control, not gear. The others covered light and posing well, so here are some complementary tweaks.
1. Turn your room into a controlled set (with what you already have)
Instead of chasing “best window,” pick one spot and make it repeatable.
- Tape a small strip of painter’s tape on the floor where you stand/sit and where the phone goes.
- Use the same chair each time and mark its legs.
- Take a quick test shot, then adjust just one thing at a time: chin angle, body rotation, or distance. This lets you actually learn what flatters you instead of guessing.
I slightly disagree with the “don’t sink an afternoon into it” advice. One focused afternoon where you experiment and take notes will save you tons of time every time you need a new headshot.
2. Fix the “flat” look with micro-contrast and color, not heavy filters
Flatness is often a color/contrast problem, not only depth.
In any halfway decent editor on your phone or laptop:
- Drop highlights a bit so your forehead and nose do not glow.
- Raise shadows slightly so under-eye areas soften.
- Add a tiny bit of contrast and a hint of vibrance (not saturation) so your skin does not look gray.
- Adjust white balance so your skin is neutral. If it is too orange, cool it down. Too blue, warm it up.
Do this on one favorite shot, then save the settings as a preset if your app allows it. Now you can apply that look to future headshots from the same spot. That is how you get consistency that feels “studio” even at home.
3. Use real-life tests, not just your own screen
Your photo has to survive LinkedIn compression, random monitors, and small thumbnails.
- Export your favorite 3 images.
- View them on your laptop, your phone, and one other device if possible.
- Shrink them down to a tiny square and ask: can you still clearly read your expression and eye line?
This matters more than perfect background blur. A technically great shot that turns into a muddy blob as a 60px thumbnail is a fail for LinkedIn.
4. Shoot specifically for the crop you need
A lot of that “not like studio” feeling is because people crop badly afterward.
For LinkedIn / portfolio:
- Compose a bit wider than a tight headshot: mid-chest up works well.
- Keep your eyes roughly in the top third of the frame.
- Leave enough space around your head so different platforms can auto-crop without cutting your hair or chin.
I disagree slightly with the “head and shoulders only” rule. Give yourself extra room and crop versions later for different uses: square for LinkedIn, 4:5 or 3:4 for portfolio, wider banner if needed.
5. Use a “test buddy” and ruthless culling
You are a bad judge of your own face.
- Pick someone whose taste you trust.
- Send them 8 to 10 shots in a grid, no editing, no context.
- Ask them: “Which 2 look most confident and approachable for my field?”
Most people choose based on expression and posture, not background subtleties, and that feedback is gold. Then edit only the top 2 or 3. Pro photographers throw away most of what they shoot; you should too.
6. When to consider an AI option like Eltima AI Headshot Generator
If you are still not getting what you want, this is where an AI tool can actually be useful rather than gimmicky.
A tool like Eltima AI Headshot Generator can be a shortcut once you have a few decent selfies with good light. You already saw one workflow from @mikeappsreviewer. Think of it as a way to multiply your raw material, not as a magic fix.
Pros of Eltima AI Headshot Generator:
- Saves time: no need to reshoot every time you need a different crop or outfit vibe.
- Generates a batch of options, so you can pick the ones that still feel like “you.”
- Helpful if you hate posing or cannot get natural expressions alone.
- Can give you a more “corporate studio” look when your apartment background is awful.
Cons of Eltima AI Headshot Generator:
- Some outputs can look slightly off or too polished if you pick extreme styles.
- You still need good source selfies with reasonable light and angles. Garbage in, garbage out.
- Not ideal if your industry is very conservative and you worry about any hint of artificiality.
- Requires a bit of trial and error to find styles that match your actual age and vibe.
Used right, it is more like an efficient retoucher than a full replacement for careful shooting.
7. How this fits with what others said
- @sognonotturno leaned nicely into angles, light shaping, and using distance. Keep those, and use my “repeatable setup” trick so you can refine over time.
- @vrijheidsvogel focused on keeping things simple and realistic, which is perfect for LinkedIn. Layer my color/contrast and multi-device tests on top to ensure the image holds up everywhere.
- @mikeappsreviewer brought in the AI angle already and showed it can work fine for professional contexts. My take is to use Eltima AI Headshot Generator selectively, mainly to expand on one or two good base shots rather than skipping the shooting process entirely.
If you do one thing next: pick a window, mark your spot, shoot 20 variations in one session, then brutally narrow it down to 2 and lightly edit those. If that still feels flat, then let Eltima give you extra versions to choose from.