I accidentally emptied the Trash on my Mac and lost important files I still need for work and personal documents. I’m looking for the best Mac data recovery software that can recover files from an emptied Trash safely and quickly. Any recommendations or tips on what to try first would really help.
I’ve seen this happen a lot, and yeah, the first move is boring but important. Stop using the MacBook right away. Don’t save a file. Don’t install an app. Don’t let it keep doing extra work if you can avoid it. When you empty Trash, macOS usually removes the file record first. The data often stays on the drive until new data lands on top of it. If you keep using the machine, you raise the odds of overwriting the stuff you want back.
There’s a second problem on newer Macs, and this part catches people off guard. SSDs use TRIM. After deletion, the system can tell the drive to clean up those blocks in the background so the SSD stays fast. On a MacBook, especially newer ones, this might happen soon after Trash gets emptied. So time matters. Less activity gives you a better shot.
If you don’t have a backup, start with the direct route.
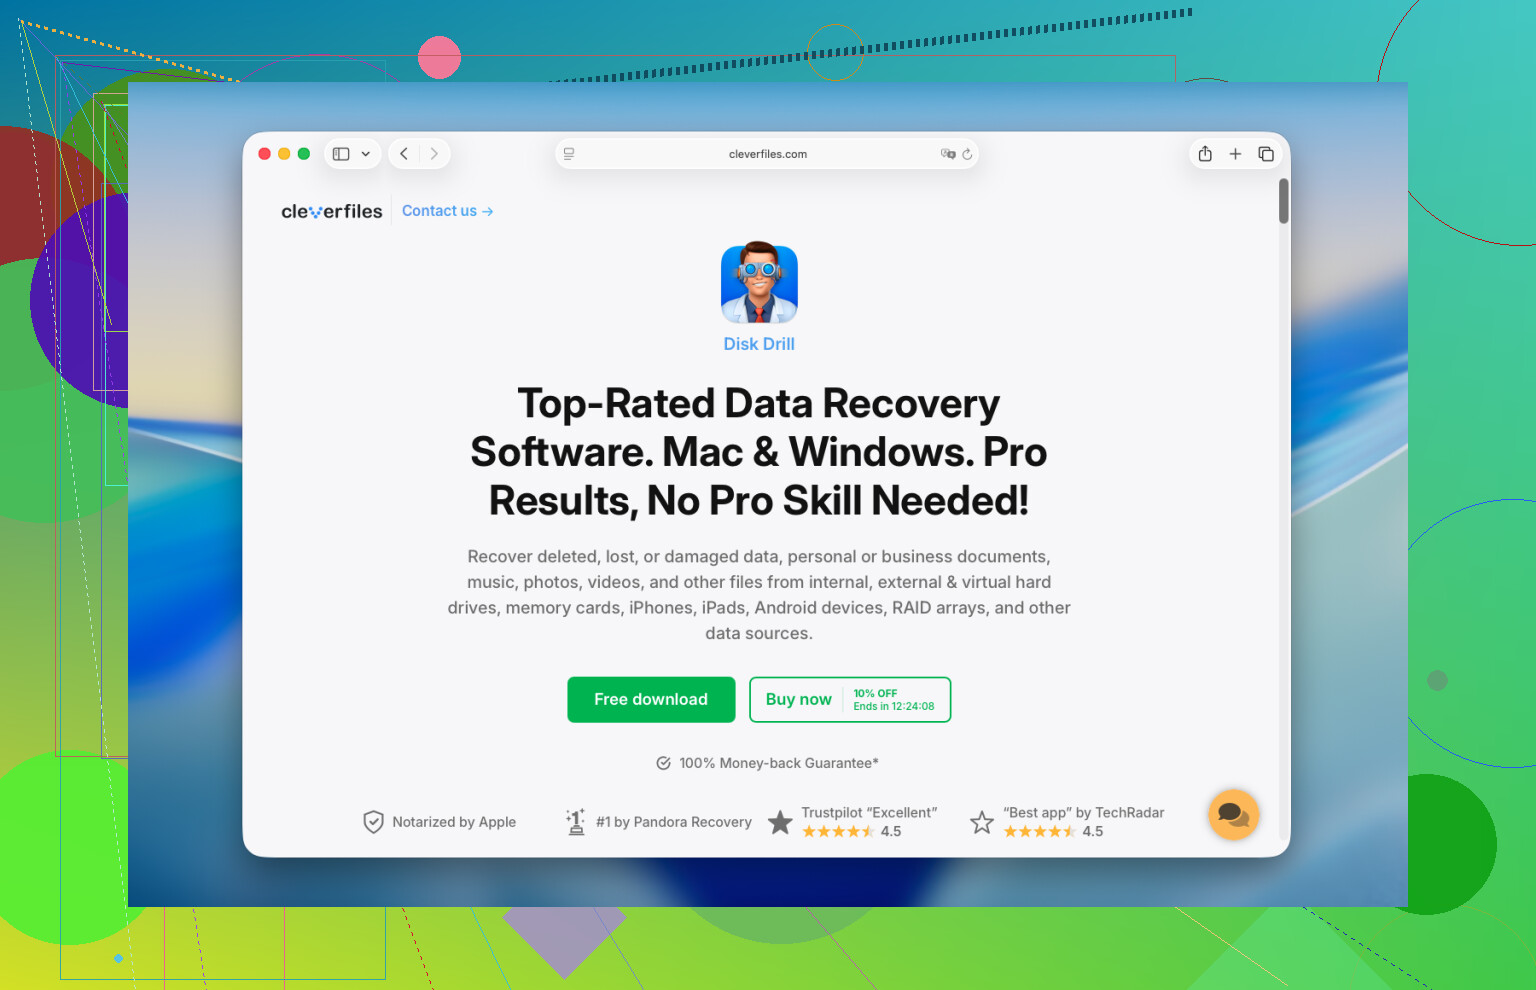
Run a recovery app fast, but do it the safe way. I’d go with Disk Drill. On Apple Silicon Macs, and on Intel Macs with the T2 chip, the internal drive setup is harder to deal with than people expect. A lot of random recovery apps choke there. Disk Drill tends to handle modern Mac storage and security better. Here’s the process I’d follow.
- Do not install it on the same MacBook. This part matters most. Installing software writes to the internal drive. Bad timing if the deleted files are sitting in free space waiting to be overwritten. Use another computer, put Disk Drill on a USB drive, then run it from there if possible.
- Make a disk image first. I know most people skip this. I still wouldn’t. Disk Drill lets you copy the drive bit for bit into an image file on an external disk. Do this before a long recovery attempt. If the first scan misses something, you still have a frozen copy of the drive state from before more cleanup happens. It’s the closest thing to an undo button in this mess.
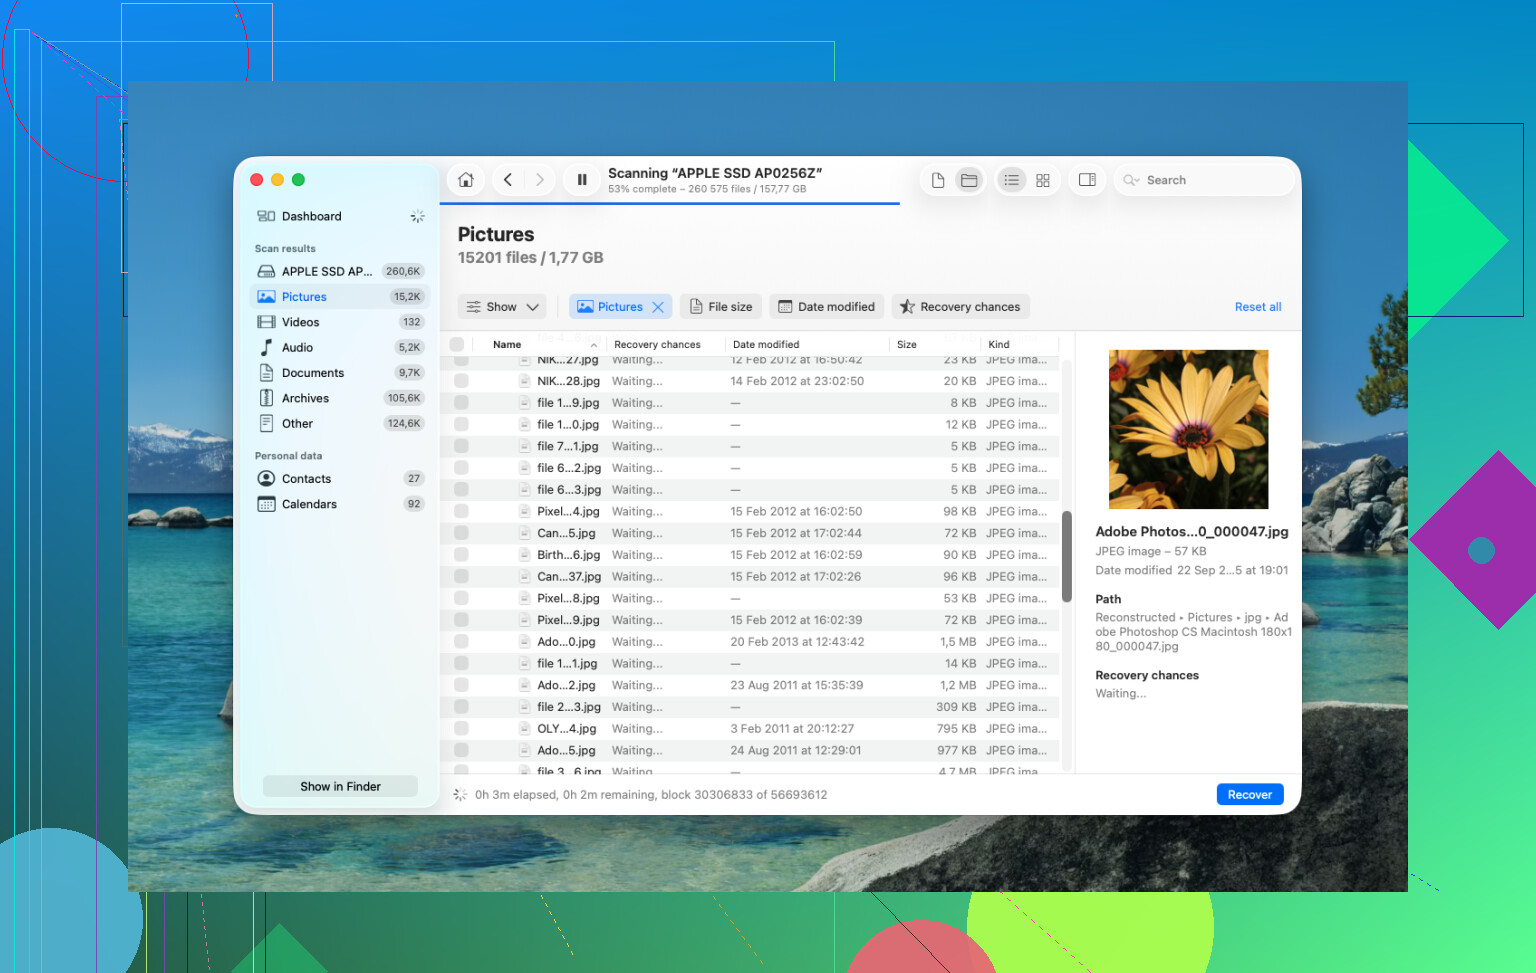
- Run the full scan. Point it at the internal drive, or better, at the image you made. Let it scan the raw storage instead of relying only on the file system index. On damaged or deleted items, this tends to matter.
- Check the preview before paying. The scan is free, and you get previews of found files. Photos, docs, video clips, all of that. I’d look closely here. If your files show up intact, then you know whether paying for recovery makes sense.
- Restore to an external drive. Don’t write recovered files back to the MacBook’s internal storage. Use a USB drive or external SSD. Writing them back to the same disk is a good way to step on whatever is still left.
After that, I’d check the easy places people forget.
Time Machine. If you ever turned it on, open Time Machine and go to the folder where the files used to live. Even without the backup disk connected, macOS sometimes keeps local snapshots from the last day. I’ve seen people pull files back from there and save themselves a long recovery scan.
Cloud services. If those files were synced with iCloud Drive, Dropbox, or Google Drive, stop using the Mac for a minute and check from your phone or another computer. Each of those services has its own deleted-items area. Usually the retention window is around 30 days. It’s separate from the Mac Trash, which is why this check is worth the two minutes.
Photos and Notes. If the missing stuff was pictures or notes, open those apps and look in Recently Deleted. Apple keeps those items there for roughly 30 to 40 days. Emptying Trash does not always touch those app-level bins.
If none of this works, the last step is a recovery lab. They use hardware tools and controlled environments to pull data in ways normal software can’t. It works best for files you can’t replace. Family photos, legal docs, work archives, stuff like that. Price is the rough part. I’ve seen quotes anywhere from $300 up to $3,000, sometimes more if the case is ugly.
10 Likes
I’d add one thing to what @mikeappsreviewer said. Don’t assume software is your first or best shot.
If your files lived in iCloud Drive, Dropbox, OneDrive, Google Drive, Pages, or Photos, check the service trash and version history first. For work docs, version history saves people a lot more often than raw recovery scans do. I’ve pulled back overwritten spreadsheets from OneDrive this way. No scan needed.
I also slightly disagree on jumping straight into a full deep scan on every Mac. On newer SSD Macs, if TRIM already cleaned blocks, recovery apps often return file names with broken content or zero-byte junk. Preview matters more than the found file count. Ten valid docs beats 5,000 false hits.
If you do use Mac data recovery software, Disk Drill is one of the safer picks for emptied Trash recovery on macOS. I’d judge it on previews for your file types, DOCX, PDF, XLSX, PSD, stuff like that. Test first. Recover to external storage only.
If the files are business-critical, skip DIY after one pass and send it to a lab. Repeated scans waste time and sometiems make the mess worse.
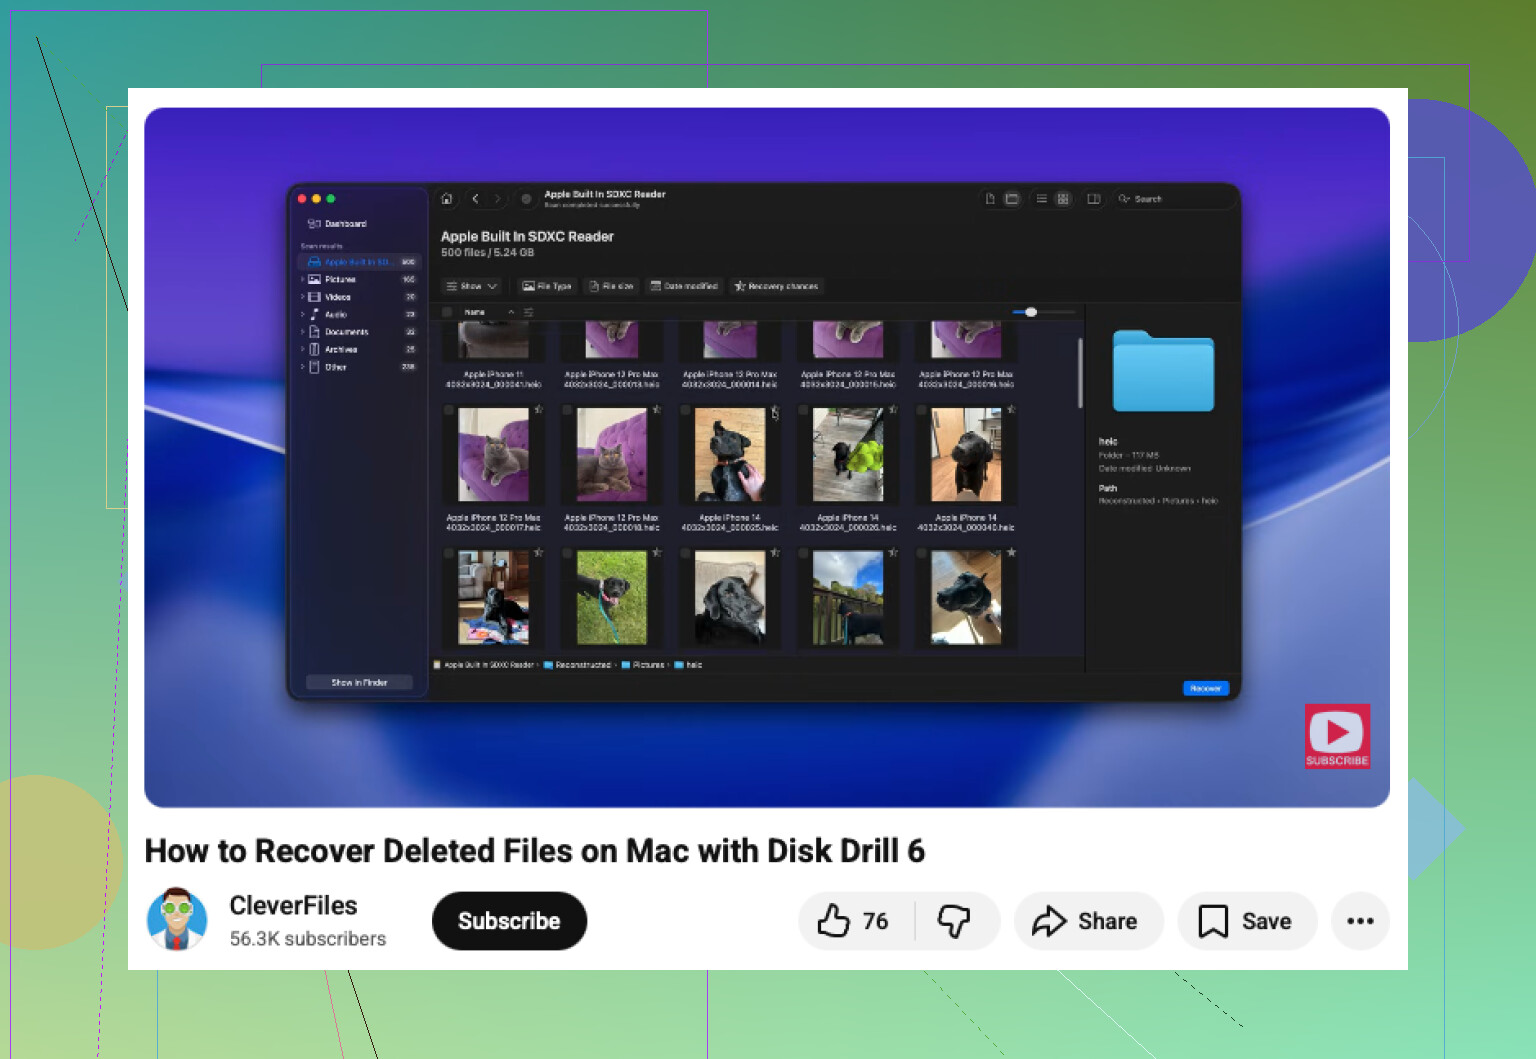
Also, this video is a decent walkthrough for Mac file recovery steps:
step by step YouTube guide for recovering deleted files on Mac
I mostly agree with @mikeappsreviewer and @chasseurdetoiles, but I would not spend too long chasing every possible hidden copy before testing whether the deleted files are actually recoverable. On a modern Mac with an SSD, the window can be pretty short, so you want to verify fast whether recovery software still sees real data.
For actual Mac data recovery software, Disk Drill is probly the safest first pick for emptied Trash on macOS. Not because it does magic, but because it handles APFS and newer Mac setups better than a lot of bargain-bin apps that just spit out junk results. The key thing is this: ignore the huge “files found” number and look at previews. If your PDFs, DOCX files, photos, or project files preview correctly, then you’ve got a real shot. If previews are broken, zero-byte, or gibberish, don’t keep doing endless rescans hoping for a miracle.
One thing I’d add that hasn’t really been stressed enough: if the files were stored in Desktop or Documents and you use iCloud, check icloud.com from another device. Sometimes people think “Trash emptied = gone forever” when the cloud copy is still sitting there or can be restored from recently deleted. Same for Microsoft 365 files if they were ever synced.
Also, don’t overlook app-specific autorecovery. Word, Excel, Photoshop, and some PDF editors keep temp or autosave versions outside Trash. That’s not full data recovery, but for work docs it can save your butt.
If you want a visual walkthrough, this is a decent Mac deleted file recovery guide for emptied Trash.
If Disk Drill shows valid previews, recover to an external drive only. If it doesn’t, stop there and consider a lab if the files are worth real money. At that point, more DIY usually just wastes time tbh.