My external hard drive stopped showing up on my computer, and it has years of family photos that I never backed up anywhere else. I’m trying to figure out the safest first steps for hard drive data recovery without making things worse. Should I use recovery software, try another enclosure or cable, or go straight to a professional data recovery service?
I’ve dealt with this a few times, and the first move is boring but important. Stop using the hard drive now. Don’t copy stuff to it. Don’t install anything on it. Don’t run random repair tools. Every write cuts into your recovery odds.
Before you throw software at it, look at how the drive behaves.
If you hear clicking, grinding, spin-up and spin-down loops, or the drive keeps vanishing from Windows or macOS, I’d treat it like a hardware issue first. Same if folder access takes forever or the system hangs when you open the disk. A normal HDD should not sit there clicking over and over.
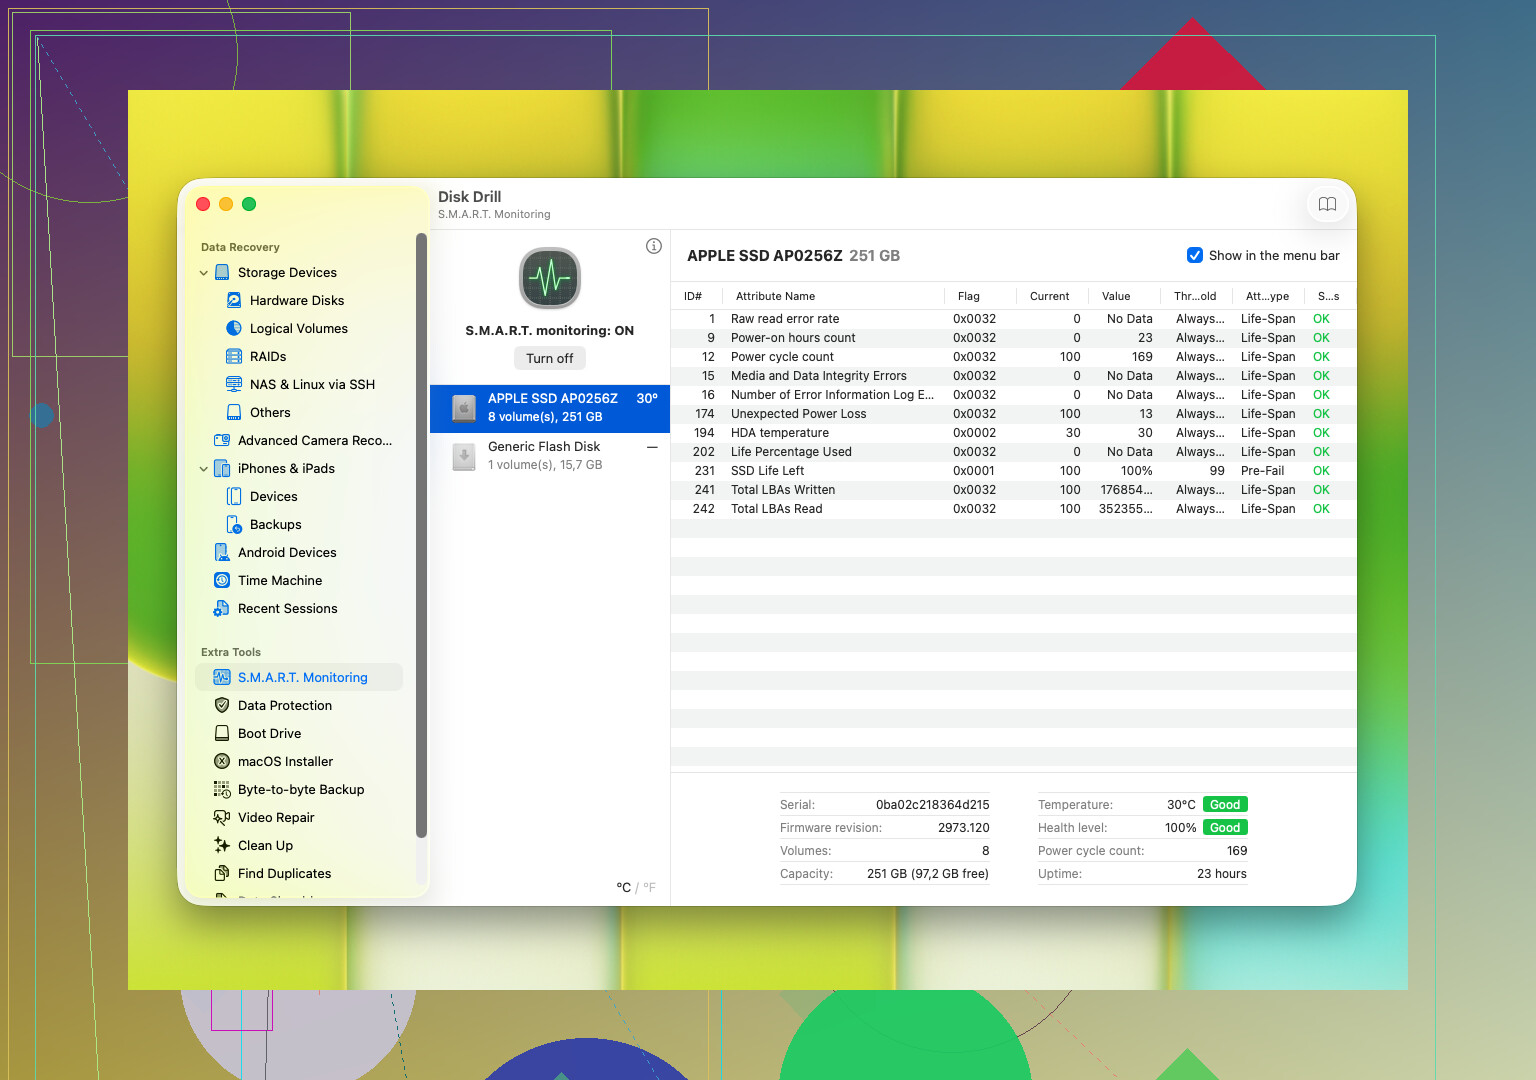
Check the drive’s S.M.A.R.T. data. This tells you a lot more than people think. You might see reallocated sectors, read errors, temperature problems, pending sectors, stuff like that. If those numbers look rough, or keep getting worse, the drive is on borrowed time.
When the signs point to physical failure, skip CHKDSK, skip repeated rescans, skip homebrew fixes from old forum posts. I’ve seen drives go from “sort of readable” to dead after too many passes. If the files matter, make a byte-for-byte image first while the disk still responds. If it’s already unstable in a bad way, a recovery lab is the safer path.
If the drive still reads in a normal enough way, move fast with recovery software. One option people tend to start with is Disk Drill. It’s decent for deleted files, formatted drives, damaged partitions, and disks that suddenly show up as RAW or inaccessible.
What stood out to me with Disk Drill was the workflow. It rolls multiple scan methods together, works with common Windows and macOS file systems, and lets you preview files before restoring them. Preview matters. If your photos open and your docs render, you know you’re not wasting hours pulling back junk. It also reads S.M.A.R.T. info and lets you create a byte-to-byte backup image, which is huge when the drive feels shaky.
The steps are plain enough:
- Connect the HDD to your computer.
- Install and open Disk Drill on a different drive, never the damaged one.
- Pick the problem HDD from the list.
- Start the scan.
- Let it finish, or check found files while it runs.
- Preview what you want back.
- Recover everything to another drive.
If Disk Drill stops seeing the drive, the scan hangs, or the noise gets worse while reading, stop there. I wouldn’t push it past that point. Those are the kinds of signs where software stops being helpful and starts making the damage worse.
9 Likes
First thing, try the simple stuff before you stress the drive more.
Use a different USB cable. Use a different port. Skip USB hubs. If the external drive has its own power supply, check it. A lot of “dead” externals are bad cables or weak power, not dead disks. I disagree a bit with @mikeappsreviewer on jumping too fast into software. If the drive is not even mounting, connection and enclosure failure are common.
Next step, check if the drive shows in Disk Management on Windows or Disk Utility on Mac. If you see the drive there with the right size, your odds are better. If it shows as unallocated, RAW, or no file system, stop poking at it too much.
Big one people miss, the USB enclosure itself fails a lot. Take the disk out only if you know what you’re doing and the warranty does not matter. Then connect the bare drive with a SATA to USB adapter or dock. I’ve seen this save familly photos more than once.
If the drive becomes readable, copy the irreplaceable stuff first. Photos first, videos later. No sorting. No renaming. No long sessions.
If it stays visible long enough for recovery, Disk Drill is fine for photo recovery from an external hard drive, especially if you need to recover old deleted pictures from a hard drive or pull files from a drive that stopped opening right. I’d still recover to a second disk, never back to the same one.
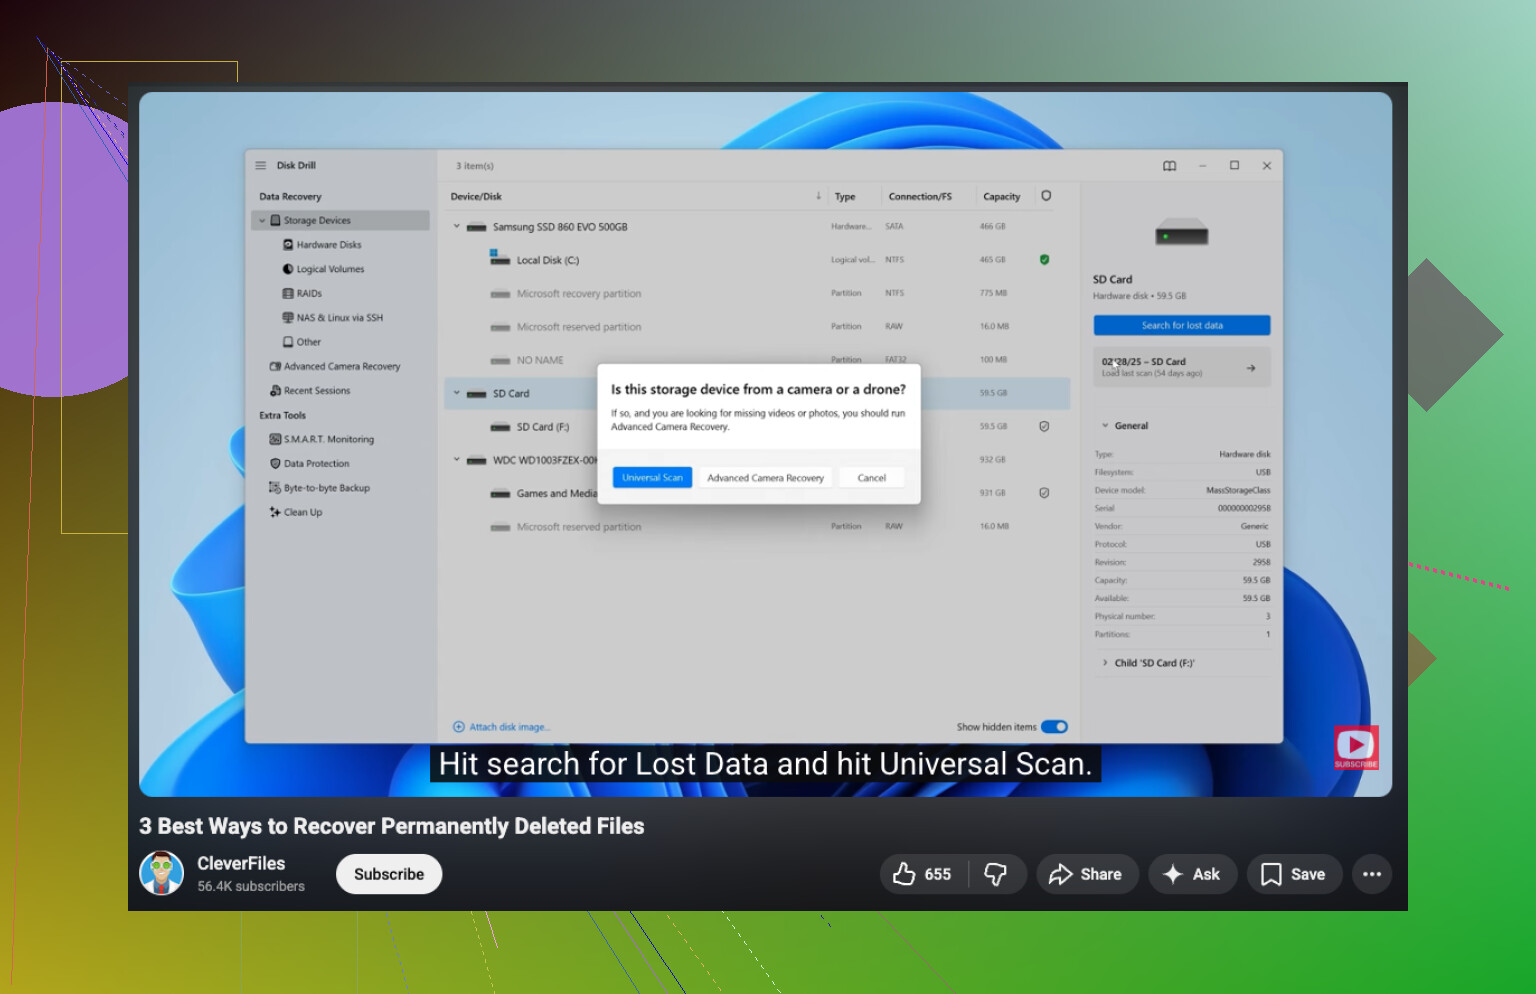
This video is worth a look too:
watch how to recover deleted files from a hard drive safely
If the drive clicks, disappears mid-read, or gets hot fast, stop. At tha point, a lab is the safer move.
I’d add one thing neither @mikeappsreviewer nor @stellacadente really leaned on enough: check whether this is an external enclosure problem vs the actual hard drive logic board. Not just cable/port, I mean the little USB-to-SATA bridge inside the case can die while the disk itself is still fine.
If the drive is out of warranty and it’s a standard non-encrypted enclosure, opening it and connecting the bare drive directly can be the difference between “dead forever” and “all my pics are back.” If it’s a WD/My Passport style unit though, be careful, some use hardware encryption on the USB board, so removing it can actually complicate things. That’s why I wouldn’t tell everyone to shuck it right away.
Also, do not run “repair” prompts if Windows says the drive has errors. That stuff is for fixing a filesystem you can afford to lose, not for preserving one copy of family photos.
My order would be:
- Try another known-good cable, port, and computer.
- Check if the drive appears in BIOS, Disk Management, or System Information.
- If it appears with correct capacity, clone or image it first if possible.
- Then scan the image, not the original drive.
That last part matters. A lot. People go straight into repeated full scans on the failing disk itself and wonder why it gets worse. If you can make an image, do that and point Disk Drill at the image file after. Safer and less stress on the hardware.
If the drive is silent and totally absent everywhere, or it smells burnt, skip DIY. If it’s clicking, also skip DIY unless you’re okay gambling the photos. Labs are expensive, yeah, but family photos are the exact type of data that makes pro recovery worth it.
Also, this is a decent roundup of safe first steps for hard drive photo recovery if you want more community input.
Short version: fewer power-ons, fewer scans, no repairs, recover to another disk, and don’t panic-click stuff. That’s where people usualy make it worse.